How to set up and publish an Antora site to GitHub Pages (Windows)
Overview
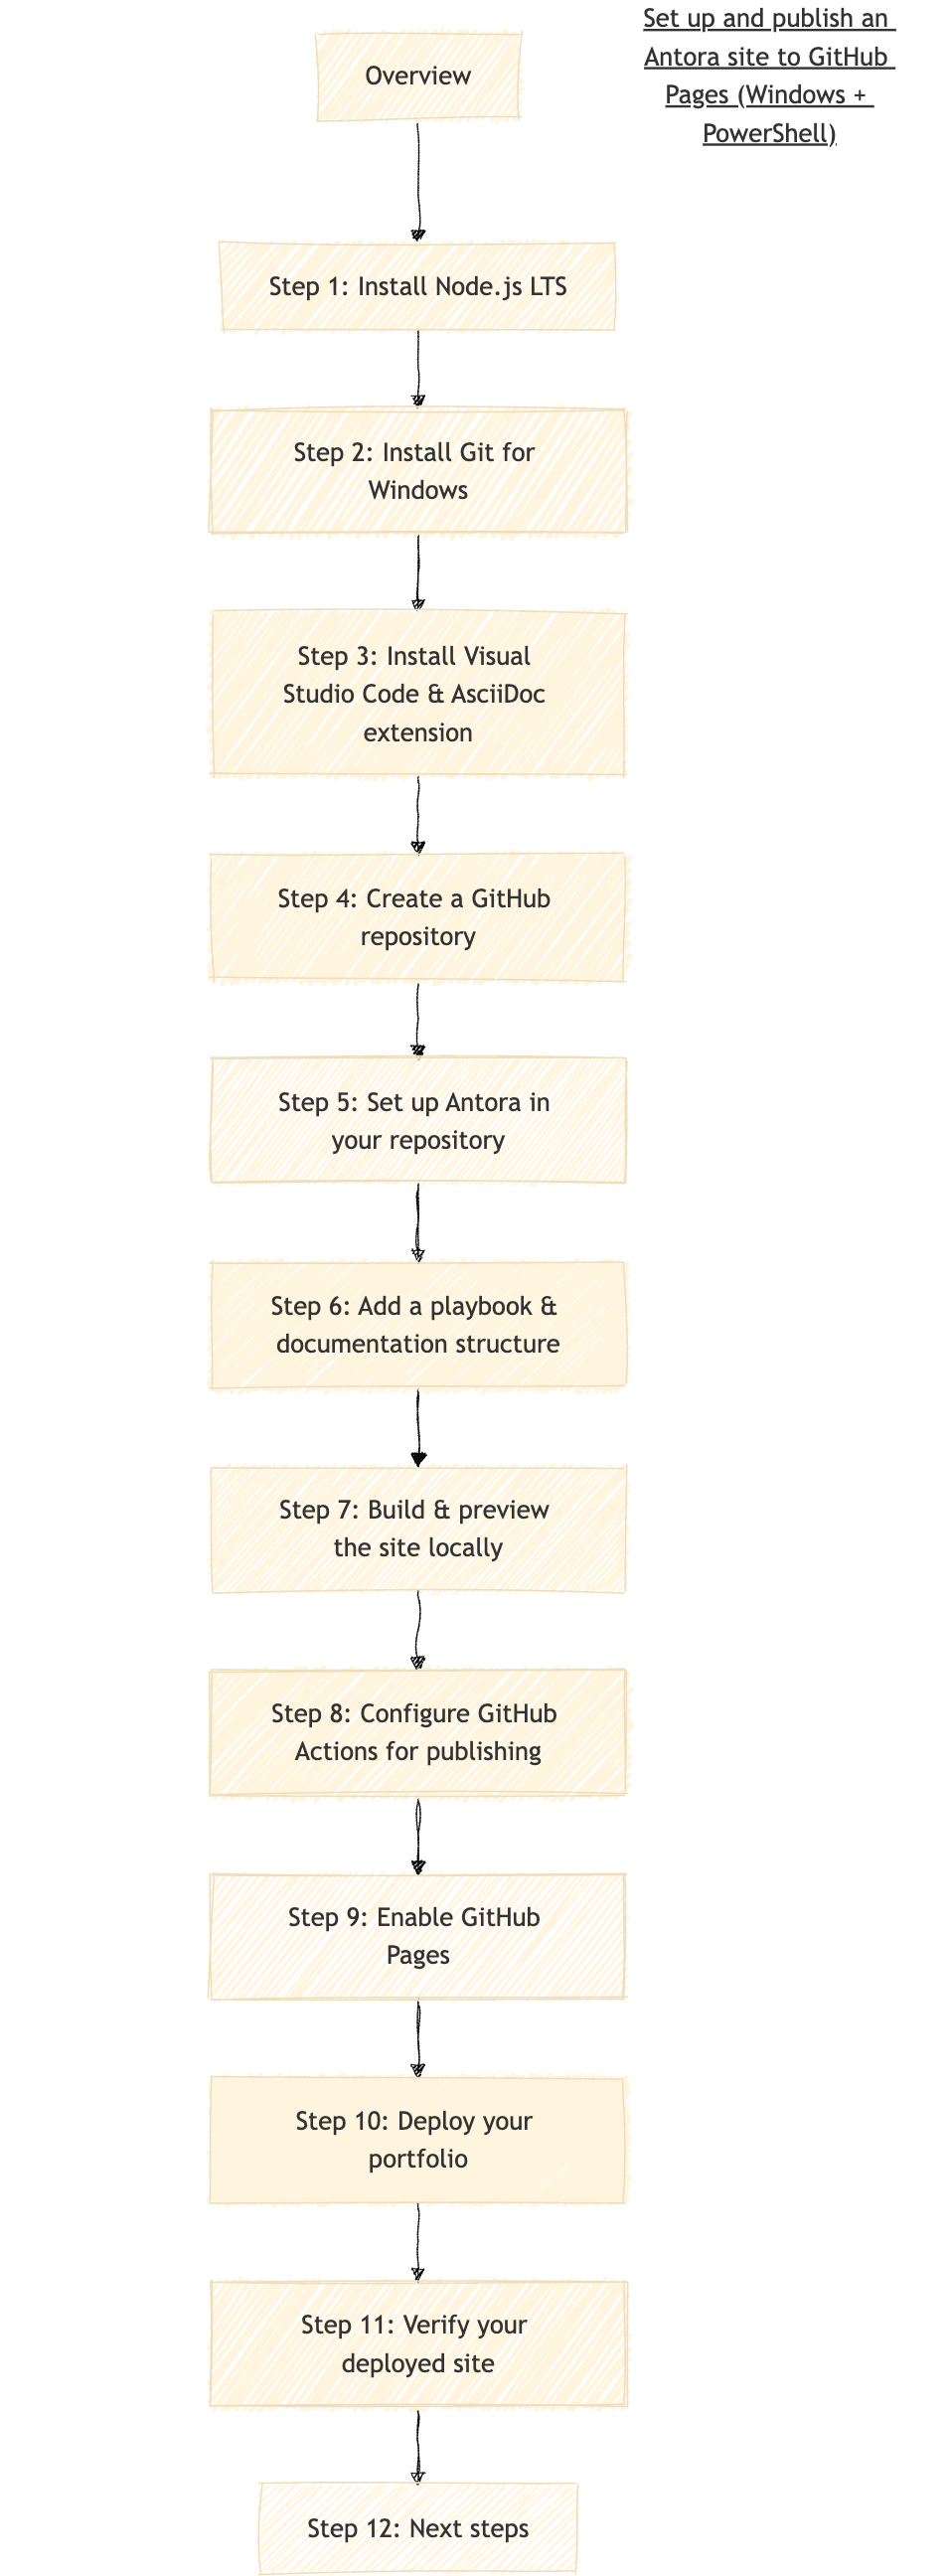
This document will guide you through setting up an Antora docs site locally on Windows, and then publishing it to GitHub Pages.
Prerequisites
This guide assumes you are using Windows 11 with PowerShell, you have a GitHub account, you can install software with admin rights, and that you can run a few commands in terminal.
|
In this guide, replace placeholders with your own details:
Placeholders are written in uppercase or example form for clarity. |
1 Install Node.js LTS
-
Go to
https://nodejs.org. -
Download the Windows installer (choose the LTS version, .msi file).
-
Run the installer (leave the default options checked, especially the one that adds Node.js to your PATH).
-
Verify the installation.
node -v

npm -v
You should see the versions of Node.js and npm.
2 Install Git for Windows
-
Download the installer.
-
Run the installer with default settings (they’re good for most users).
-
This gives you:
-
Git command line tools
-
Git Bash (a nice terminal for Git commands)
-
Integration with Windows Command Prompt/PowerShell
-
-
After installation, you’ll need to configure Git with your name and email (first time only):
git config --global user.name "Your Name"

git config --global user.email "your.email@example.com"
-
Quick test: After installing, test that everything works.
git --version

git config --list
3 Install Visual Studio Code and AsciiDoc extension
-
Download the Windows installer.
-
Run the installer.
-
Open Visual Studio Code.
-
Search for and install the AsciiDoc extension (helps for working with AsciiDoc format used by Antora).
4 Create a GitHub repository
-
Go to GitHub and create a new repository.
-
Name it something like
my-docs-portfolio. -
Make it public (required for free GitHub Pages).
-
Initialize with a README.
-
Clone it to your local machine.
cd C:\Projects\

git clone https://github.com/YOUR-USERNAME/YOUR-REPO-NAME.git
| You don’t need to create the 'my-docs-portfolio' folder first - Git will create it automatically when you clone. |
|
When you clone or push to GitHub for the first time, you may be prompted to authenticate. On Windows, Git Credential Manager usually opens a browser window for you to sign into GitHub. Once authenticated, your credentials are cached so you won’t need to sign in again on this machine. |
5 Set up Antora in your repository
-
Navigate to your folder in terminal.
-
Initialize a
package.jsonfile and install Antora in your repository.node -e "fs.writeFileSync('package.json', '{}')" npm i -D -E antora -
Verify your installation by running:
npx antora -v
You should see the versions of Antora CLI and site generator if the installation is successful.
6 Add a playbook and documentation structure
-
Create your playbook.
-
Save this file as
antora-playbook.ymlin themy-docs-portfoliodirectory you made.Create
antora-playbook.yml:site: title: Your Name - Documentation Portfolio url: https://YOUR-USERNAME.github.io/YOUR-REPO-NAME start_page: docs::index.adoc content: sources: - url: . branches: [main] start_path: docs ui: bundle: url: https://gitlab.com/antora/antora-ui-default/-/jobs/artifacts/HEAD/raw/build/ui-bundle.zip?job=bundle-stable snapshot: true output: clean: true dir: ./build -
Create your documentation site folder structure.
your-repo/
├── antora-playbook.yml         # Your main playbook
├── package.json                # Already exists from step 5
├── .github/workflows/docs.yml  # GitHub Actions workflow
└── docs/                       # Your documentation component
    ├── antora.yml              # Main component config
    └── modules/
        ├── ROOT/               # Home/About pages
        │   ├── nav.adoc        # Navigation menu
        │   └── pages/
        │       ├── index.adoc
        │       └── about.adoc
        ├── project1/           # Project 1 module (e.g. User Guides)
        │   ├── nav.adoc
        │   └── pages/
        │       ├── index.adoc
        │       ├── project1.adoc
        └── project2/           # Project 2 module (e.g. API Docs)
            ├── nav.adoc
            └── pages/
                ├── index.adoc
                └── project2.adoc
The above is a minimal structure to get you started. For more details on Antora content structure, see the Antora documentation. -
Create your configuration files.
Create
docs/antora.yml:name: docs title: Documentation Portfolio version: latest nav: - modules/ROOT/nav.adoc - modules/project1/nav.adoc - modules/project2/nav.adoc
You don’t have to include the /pagesfolder in your navigation file. -
Create your portfolio content.
Create at least a home page (index.adoc) and an about page (about.adoc).
Create
docs/modules/ROOT/pages/index.adoc:= Welcome to My Documentation Portfolio Hi! I'm [Your Name], and this is my documentation portfolio showcasing my technical writing and documentation projects. == What You'll Find Here * Professional documentation samples * Technical writing projects * API documentation examples * User guides and tutorials == Featured Projects === xref:projects/project1.adoc[Project Name 1] Brief description of your first documentation project. === xref:projects/project2.adoc[Project Name 2] Brief description of your second documentation project. == Get In Touch * Email: your.email@example.com * LinkedIn: https://linkedin.com/in/yourprofile * GitHub: https://github.com/yourusername
Create
docs/modules/ROOT/pages/about.adoc:= About Me == Background Write about your experience, skills, and background in technical writing or documentation. == Skills * Technical Writing * Documentation Tools (Antora, GitBook, etc.) * Markup Languages (AsciiDoc, Markdown, HTML/CSS) * Version Control (Git, GitHub) * API Documentation == Experience Detail your relevant experience here.
Create
docs/modules/projects/project1.adoc:= Project 1: [Project Name] == Overview Describe what this documentation project was about. == Challenge What problem did this documentation solve? == Solution How did you approach the documentation challenge? == Tools Used * List the tools * You used for * This project == Results What was the outcome or impact of your documentation work?
-
Create your navigation files.
Create
docs/modules/ROOT/nav.adoc:* xref:index.adoc[Home] * xref:about.adoc[About Me]
Create
docs/modules/project1/nav.adoc:.Project1 * xref:index.adoc[User Guides Portfolio] * xref:my-first-guide.adoc[User Guide Sample 1)] * xref:another-guide.adoc[User Guide Sample 2]
7 Build and preview the site locally
-
Make sure you’re in your repository directory:
cd YOUR-REPO-NAME
-
Generate the site locally:
npx antora antora-playbook.yml
The site is generated in the
/buildfolder. -
Run a local server to preview your site:
-
Open a new terminal window (separate from the one in which you run your Antora builds).
-
Run:
npx http-server ./build
-
Then open
http://localhost:8080/in your browser.
-
|
You can also preview the site by opening |
8 Configure GitHub Actions for publishing
Create .github/workflows/docs.yml:
name: Build and Deploy Documentation Portfolio

on:
  push:
    branches: [ main ]
  pull_request:
    branches: [ main ]

permissions:
  contents: read
  pages: write
  id-token: write

concurrency:
  group: "pages"
  cancel-in-progress: false

jobs:
  build:
    runs-on: ubuntu-latest

    steps:
      - name: Checkout
        uses: actions/checkout@v4
        with:
          fetch-depth: 0

      - name: Setup Node.js
        uses: actions/setup-node@v4
        with:
          node-version: '18'
          cache: 'npm'

      - name: Install dependencies
        run: npm ci

      - name: Generate Site
        run: npx antora antora-playbook.yml

      - name: Setup Pages
        uses: actions/configure-pages@v4

      - name: Upload artifact
        uses: actions/upload-pages-artifact@v3
        with:
          path: './build'

  deploy:
    environment:
      name: github-pages
      url: ${{ steps.deployment.outputs.page_url }}
    runs-on: ubuntu-latest
    needs: build
    if: github.ref == 'refs/heads/main'

    steps:
      - name: Deploy to GitHub Pages
        id: deployment
        uses: actions/deploy-pages@v4
9 Enable GitHub Pages
-
Go to your repository on GitHub.
-
Click Settings > Pages.
-
Under Source, select GitHub Actions.
-
Save the settings.
10 Deploy your portfolio
-
Commit and push all your files:
git add .
git commit -m "Set up Antora documentation portfolio"
git push origin main
-
Go to your repository’s Actions tab on GitHub.
-
Watch the workflow run (should complete successfully).
-
Once complete, your portfolio will be live at: https://YOUR-USERNAME.github.io/YOUR-REPO-NAME
That’s it! This push will:
-
Trigger your GitHub Actions workflow
-
Deploy the newly generated site to GitHub Pages
Your documentation portfolio will now automatically update whenever you push changes to GitHub, giving you a professional showcase of your documentation skills!
11 Verify your deployed site
Check the live URL at: https://YOUR-USERNAME.github.io/YOUR-REPO-NAME
12 (Optional) Next Steps
Expand your portfolio
To add new projects or pages:
-
Add more .adoc pages
-
Update navigation files
-
Commit and push
UI customisation
If you don’t need the default navigation links in the site header, you can remove them.
To remove the links:
-
Create folder
supplemental-ui/partialsin the root folder. -
Create a file
header-content.hbswith the following:<header class="header"> <nav class="navbar"> <div class="navbar-brand"> <a class="navbar-item" href="{{{or site.url (or siteRootUrl (or siteRootPath '/'))}}}">{{site.title}}</a> </div> </nav> </header> -
Rebuild your site.
npx antora antora-playbook.yml
-
Then open
http://localhost:8080/.
The site header will now only display your site title.
You can add further UI customizations in the supplemental-ui folder (CSS, JavaScript, templates).
Untrack /build with .gitignore
Since you’re using GitHub Actions to build and deploy your Antora site, you do NOT need to track the build/ folder in your Git repository. Antora builds it fresh in the workflow and deploys the output to GitHub Pages.
-
Ignore the
build/folder going forward.If you haven’t already, add this line to your
.gitignorefile:build/
If
.gitignoredoesn’t exist yet, create it in the root of your repo. -
Unstage and discard the local changes to
build/. These are just generated files — no need to commit them.git restore --staged build/ git restore build/
-
Stage and commit only the files you care about.
git add antora-playbook.yml docs/modules/ROOT/pages/index.adoc .gitignore supplemental-ui/
git commit -m "Update homepage, add .gitignore, and supplemental UI config"
git push origin main
-
Remove previously committed build/ from the repo. If you did commit the
build/folder earlier and want to remove it from the remote repo:git rm -r --cached build/ git commit -m "Remove build folder from repo (generated by Antora)" git push origin main
That removes build/ from Git tracking, but not from your local machine.